With all the excitement surrounding cloud computing, and specifically Amazon's EC2 (Elastic Compute Cloud) Beta service, I decided it was time to give it a try myself. Without much personal background in the new service, I found that there are an overwhelming number of pages talking about EC2, and even Drupal on EC2, but didn't locate a simple guide to quickly get me up and running. Having now spent a few hours today learning the basics, I'm jotting down these quick notes to help the next person interested in trying the same, and in the hopes of attracting useful tips from other AWS users.
- Register With Amazon
My first visit was to the Amazon Web Services home page, where I clicked the 'Click here to sign up!' link to create my new Amazon Web Services account (you can also sign in with your existing Amazon account, if you have one).I then started reviewing the Getting Started Guide which walks you through setting up some Java command line tools and creating your own Amazon Machine Images. I knew pre-created AMI's existed, so I tracked down Greggles on IRC who kindly pointed me in an simpler direction and quickly made it clear I could skip most of this guide, at least for now. It turned out all that I really needed to review in the Getting Started Guide was the 'Setting up an Account' page, following the directions on signing up for S3 and EC2. On that page, all I needed was the Access Key ID and Secret Access Key (make a note of these, you'll need them in step 3 below), skipping the section on setting up an X.509 certificate.
From there, it was necessary to click the "Your Web Services Account" button in the top right corner of most Amazon Web Services pages and then "Payment Method" to enter credit card information, paying for Amazon's service. You also have to be sure to explicitly sign up for EC2 by clicking 'Amazon Elastic Compute Cloud' in the 'Infrastructure Services' box, then clicking the 'Sign Up For This Web Service' button.
- Install the Elasticfox FireFox Plugin
Yes, this requires that you're using FireFox (version 2 or 3, both work great). Install the latest Elasticfox FireFox Extension from the Amazon Web Services Developer Connection page. At the time of this writing, the Download link is a plugin for FireFox 2. Scroll down a few entries into the Discussion section for the FireFox 3 link.
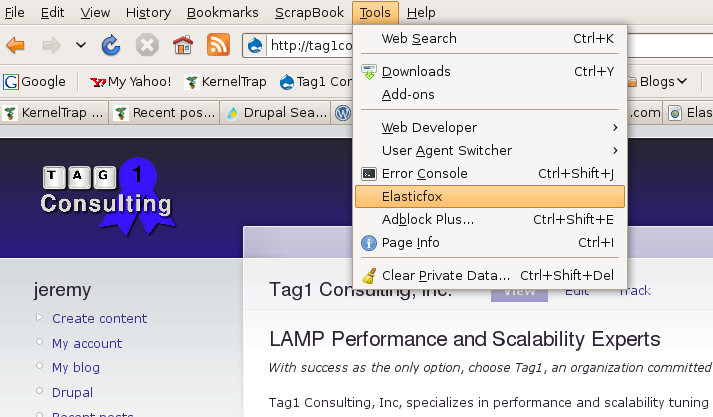
After restarting FireFox, you'll find Elasticfox in the Tools menu.
- Configure Credentials in Elasticfox
Clicking the Credentials button pops up a new window where you enter the Account Name, AWS Access Key and AWS Secret Access Key you obtained in step 1. Once entered, click the 'Add' button, then 'Close'. It's possible to set up multiple EC2 credentials. (When copying and pasting the AWS Access Key and the AWS Secret Access Key, delete any extra spaces you may have accidentally selected otherwise authentication will fail in the next step.)

- Configure an Elasticfox Key Pair
To create a key pair, click the 'KeyPairs' tab. This is a necessary step for being able to log into the virtual server you are about to create, and it also verifies that your credentials were properly entered.
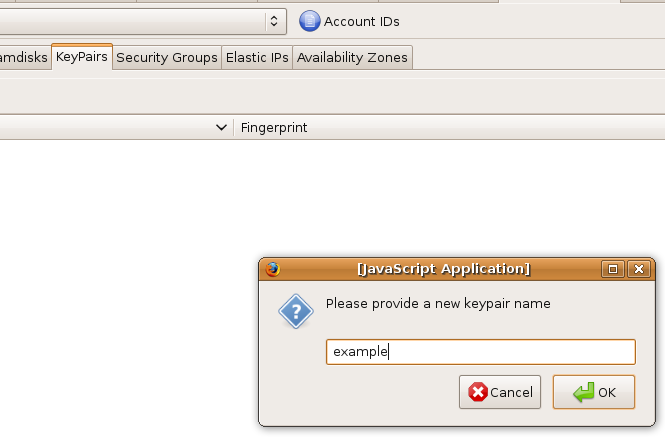
If you get a credential error when generating key pair, review the previous steps. Be sure you've properly set up billing, that you copied your access keys without spaces, that you're using your correct Amazon account name (your 'nickname', not your email address), and that you explicitly signed up for EC2, otherwise you may end up with an error like:

Once your key pair is created, you'll need to save the pem-formatted certificate that you generated. You can either create a "~/ec2-keys" directory, placing your certificate there and renaming it from sample.pem to id_sample, or set up your own directory then click the Tools button at the upper right of the Elasticfox window and change the SSH Key Template to match your custom path. This step is necessary so that you can ssh into your new server instance later on.
- Configure a Security Group
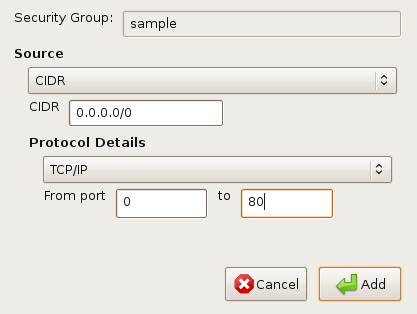
A security group is essentially a firewall, and my understanding is you can't change from one security group to another once you've set up your machine image. Thus, it's important you create a security group, and permit SSH (port 22) and HTTP (port 80).
- Launch a Machine Image (AMI)
An Amazon Machine Image (AMI) is your virtual server. Rather than create one from scratch, I simply wanted to start by using one of the many that have been contributed. Searching around, I found many that looked interested, such as this 32-bit Fedora Core 8 installation that automatically downloads and installs Drupal for you. Or this 64-bit Fedora Core 8 image.
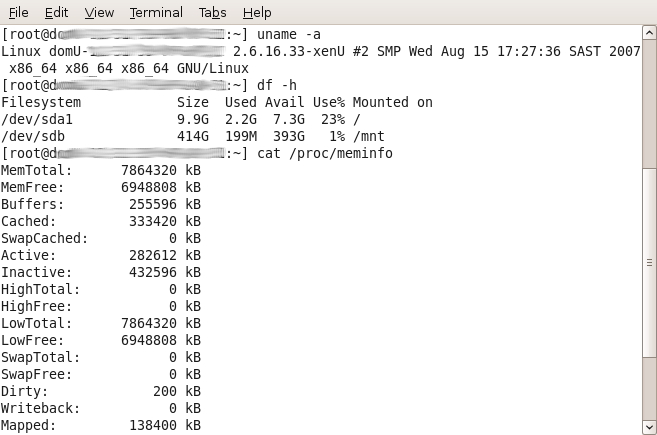
For my needs, I did want a 64-bit image allowing me to give MySQL more than 4GB of RAM. I did a little more digging, and settled on this 64-bit CentOS 5 image with an AMI ID of 'ami-31c72258'. I clicked the "AMIs and Instances" tab, followed by the blue reload circle to get a list of available public AMI's. Then I entered 'ami-31c72258' in the search box at the top right. Once located, I right-clicked the AMI and selected "Launch instance(s) of this AMI".
Another window pops up with the AMI ID already filled out. I skipped the AKI ID and the ARI ID, then set the Instance Type to m1.large. (At this time, a small instance costs $0.10/hour, around $72 per month, offering a 32-bit server with 1.7G of RAM, 1 virtual core, and 160G of disk space. A large instance costs $0.40/hour, around $288 per month, offering a 64-bit server with 7.5G of RAM, 2 virtual cores, and 850G of disk space. An extra large instance costs $0.80/hour, around $576 per month, offering a 64-bit server with 15G of RAM, 4 virtual cores, and 1,690G of disk space.) I selected my manually created KeyPair, chose an Availability Zone, and set it to launch in the 'sample' Security Group created earlier.
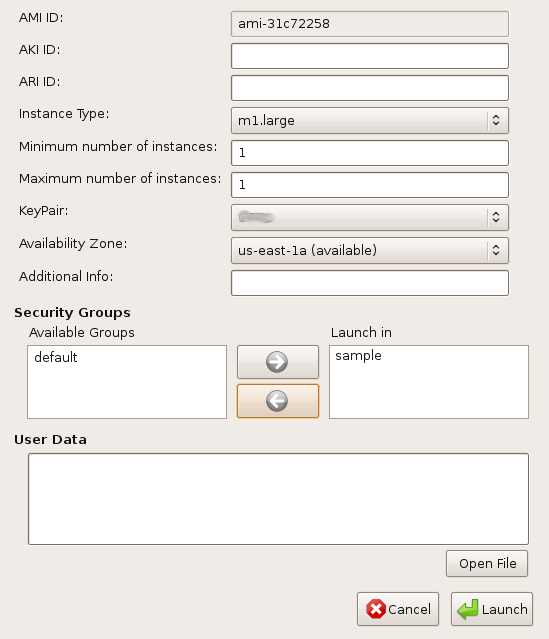
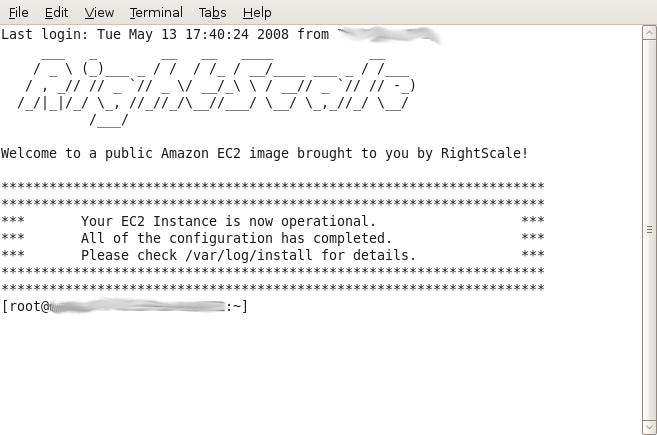
Clicking launch, I waited until the new instance entered a "running" state, then right clicked it and selected 'SSH to Public DNS Name'. A shell window popped up, and moments later I successfully logged into my new virtual EC2 instance.
The output from 'uname -a', 'df -h', and 'cat /proc/meminfo':
- Install Drupal
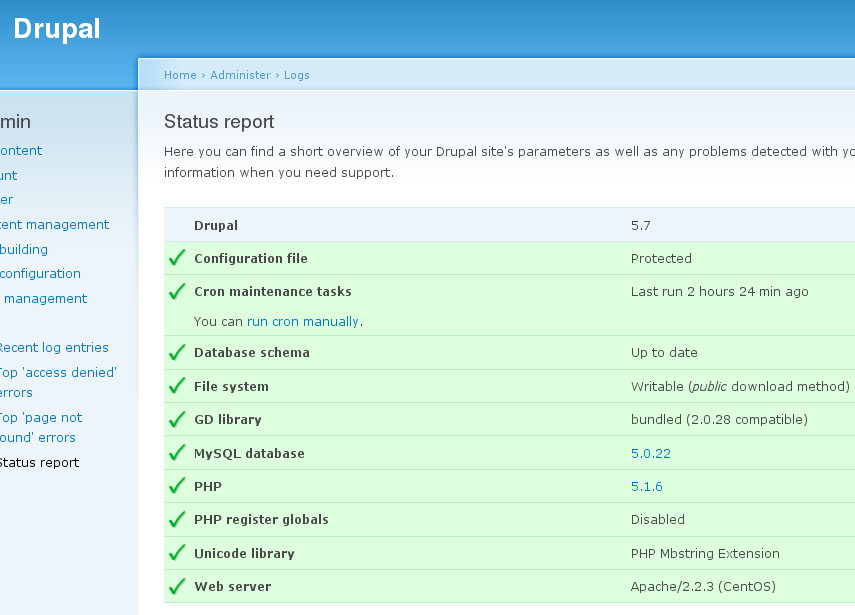
At this point, it was simple system administration to install Drupal and all of its requirements. With 'yum install', I installed the following CentOS rpms: php.x86_64, php-gd.x86_64, php-mbstring.x86_64, mysql.x86_64, mysql-php.x86_64, and mysql-server.x86_64. I then used wget to download Drupal 5.7. I extracted this tarball into /var/www/html, created a new database with mysqladmin, created a new MySQL username/password for Drupal, gave the root MySQL account a password, made all files owned by the Apache process, made sites/default/settings.php writeable by the Apache process, created the files subdirectory and made it writeable by the Apache process, then ran the Drupal installer. Once finished, I removed write permissions from settings.php, set up a cronjob to load cron.php, and my new Drupal in the cloud was fully functional on a single virtual server instance.
I'll continue playing with this, and am particularly looking forward to seeing how much benefit I can get from installing an opcode cache such as APC, as well as running memcached as I would on a normal server. I'll play with setting up a cluster of servers, making the website available with an Elastic IP, and replicating across Availability Zones for high availability. It will be very interesting to explore just how much performance and reliability can be found in the cloud.

